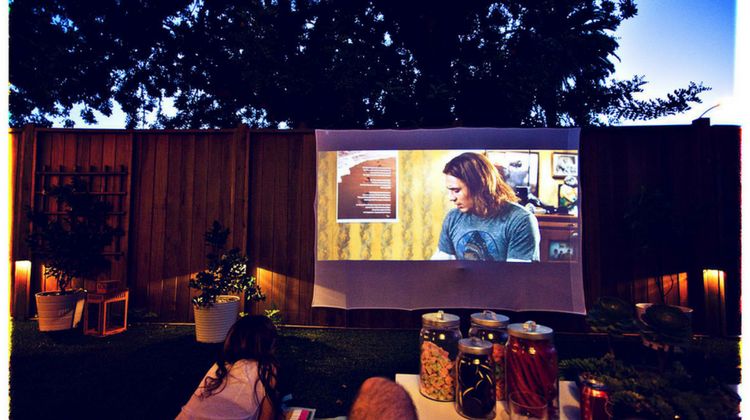
If you're one of the lucky ducks who live in a southern state, you'll be able to enjoy this outdoor screen for even longer than the rest of us will. Then, once winter is knocking on our doors, we can store it away until springtime. It only takes a few steps to create!
What You’ll Need:
- 12 pcs. 2′ PVC pipe
- 6 pcs. 3′ PVC pipe
- 2 pcs. 90° connectors
- 8 pcs. T connectors
- 1 pc. 4-way connector
- 4 pc. end caps
- zip ties
- grommets 25-40
- white cloth or tarp
- Nylon rope and stakes (optional)
Step 1: Measure And Cut Your Pipes
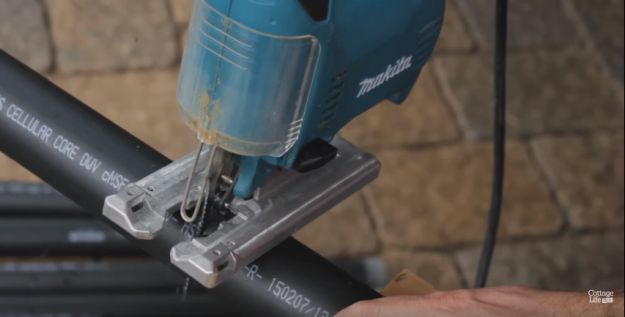
For the frame, cut 6 pieces of three-foot-long and 6 pieces two-foot-long pipes.
For the base, cut 6 pieces of two-foot-long pipes.
Step 2: Clean Up The Edges Of The Pipes
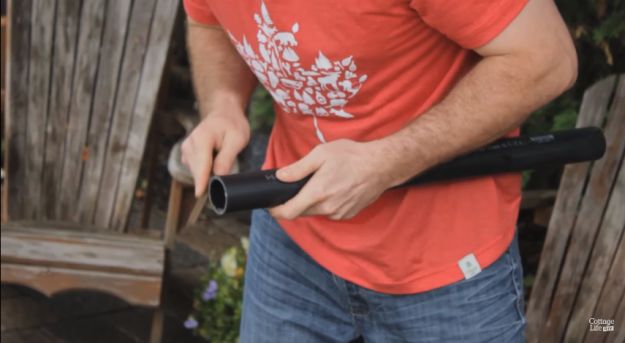
Use a file to clean up the edges of the pipes.
Step 3: Rough Up The Ends

Rough up the edges of the pipes.
Step 4: Build Your Frame And Stand
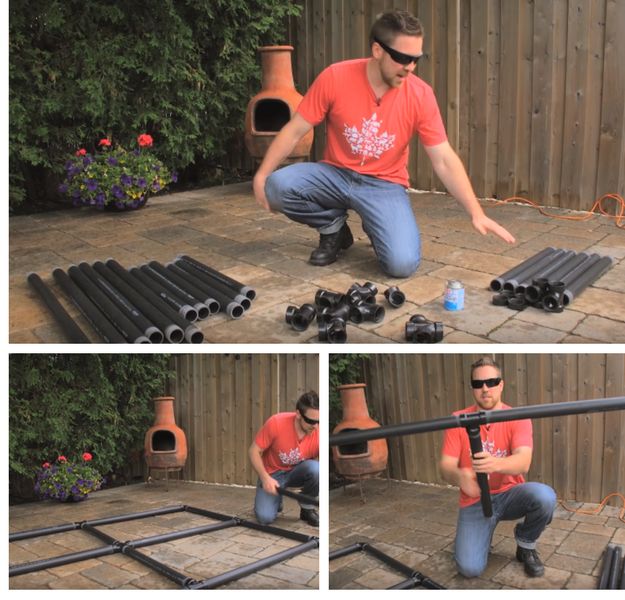
To build the frame you’ll need the following:
- 6 pieces 3 foot-long pipe
- 6 pieces 2 foot-long pipe
- 6 pieces T-connectors
- 1 piece 4-way connector
- 2 pieces 90° connectors
For the Base:
- 6 pieces 2 foot-long pipe
- 2 pieces T-connectors
- 4 pieces end caps
Lay out and connect your frame pipes together to form a grid. You can then apply the glue. Assemble the base separately.
Step 5: Cut Your Fabric
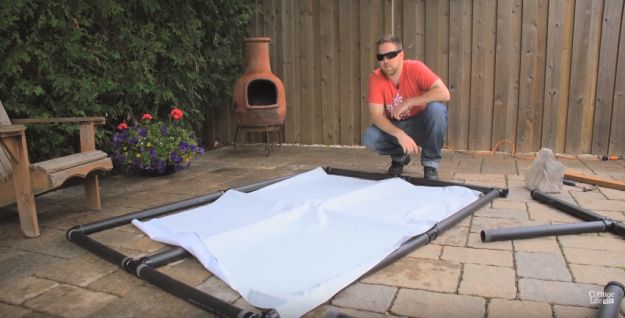
You’re making a six-foot by four-foot screen, so cut your fabric or tarp to fit the screen.
Step 6: Secure The Fabric To The Screen
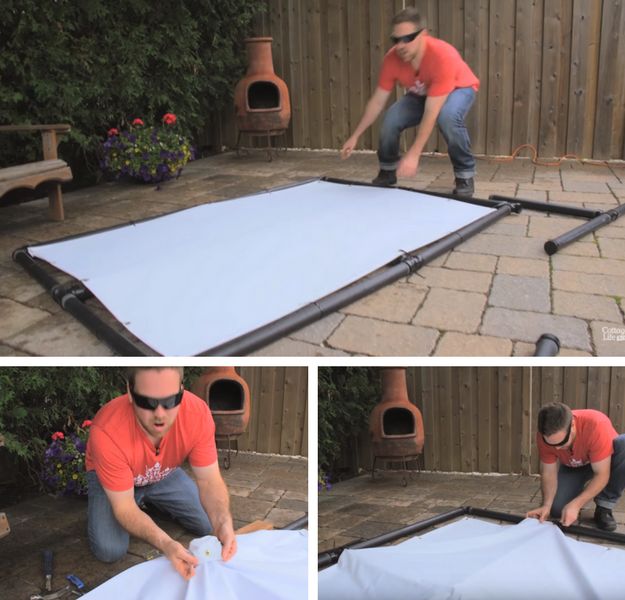
Use a grommet kit and zip ties.
Step 7: Attach The Base
Attach the base to your projector screen.
Have you made this DIY projector screen for your backyard? If so are there any tweaks you would recommend?
Article & Photo Source: Cottage Life DIY
Cool summer nights? I’m in Boston, it feels like India with all this humidity, and tomorrow it will probably snow or some crazy s**t
#hildalathrope